Camper Caulking: Essential Sealing for Lifelong Adventures
Not Just Caulking • October 7, 2025
Owning a camper opens a world of adventures, offering the freedom to explore the great outdoors. However, to enjoy a seamless travel experience, maintaining your camper's structural integrity is crucial. One often-overlooked aspect of camper maintenance is caulking, an essential process that ensures your vehicle is protected from the elements. Here’s an in-depth guide to camper caulking, highlighting why it is indispensable for lifelong adventures.
Why Caulking is Critical for Campers
Caulking is more than just filling gaps; it’s about ensuring the longevity and safety of your camper. The constant exposure to various weather conditions can lead to wear and tear, causing cracks or gaps. This can result in leaks, drafts, and even structural issues over time. Quality caulking acts as a barrier, protecting your camper from water infiltration, which can lead to mold growth and material degradation.
Signs Your Camper Needs Recaulking
Regular inspection is key to preventing extensive damage. Here are signs that your camper may need recaulking:
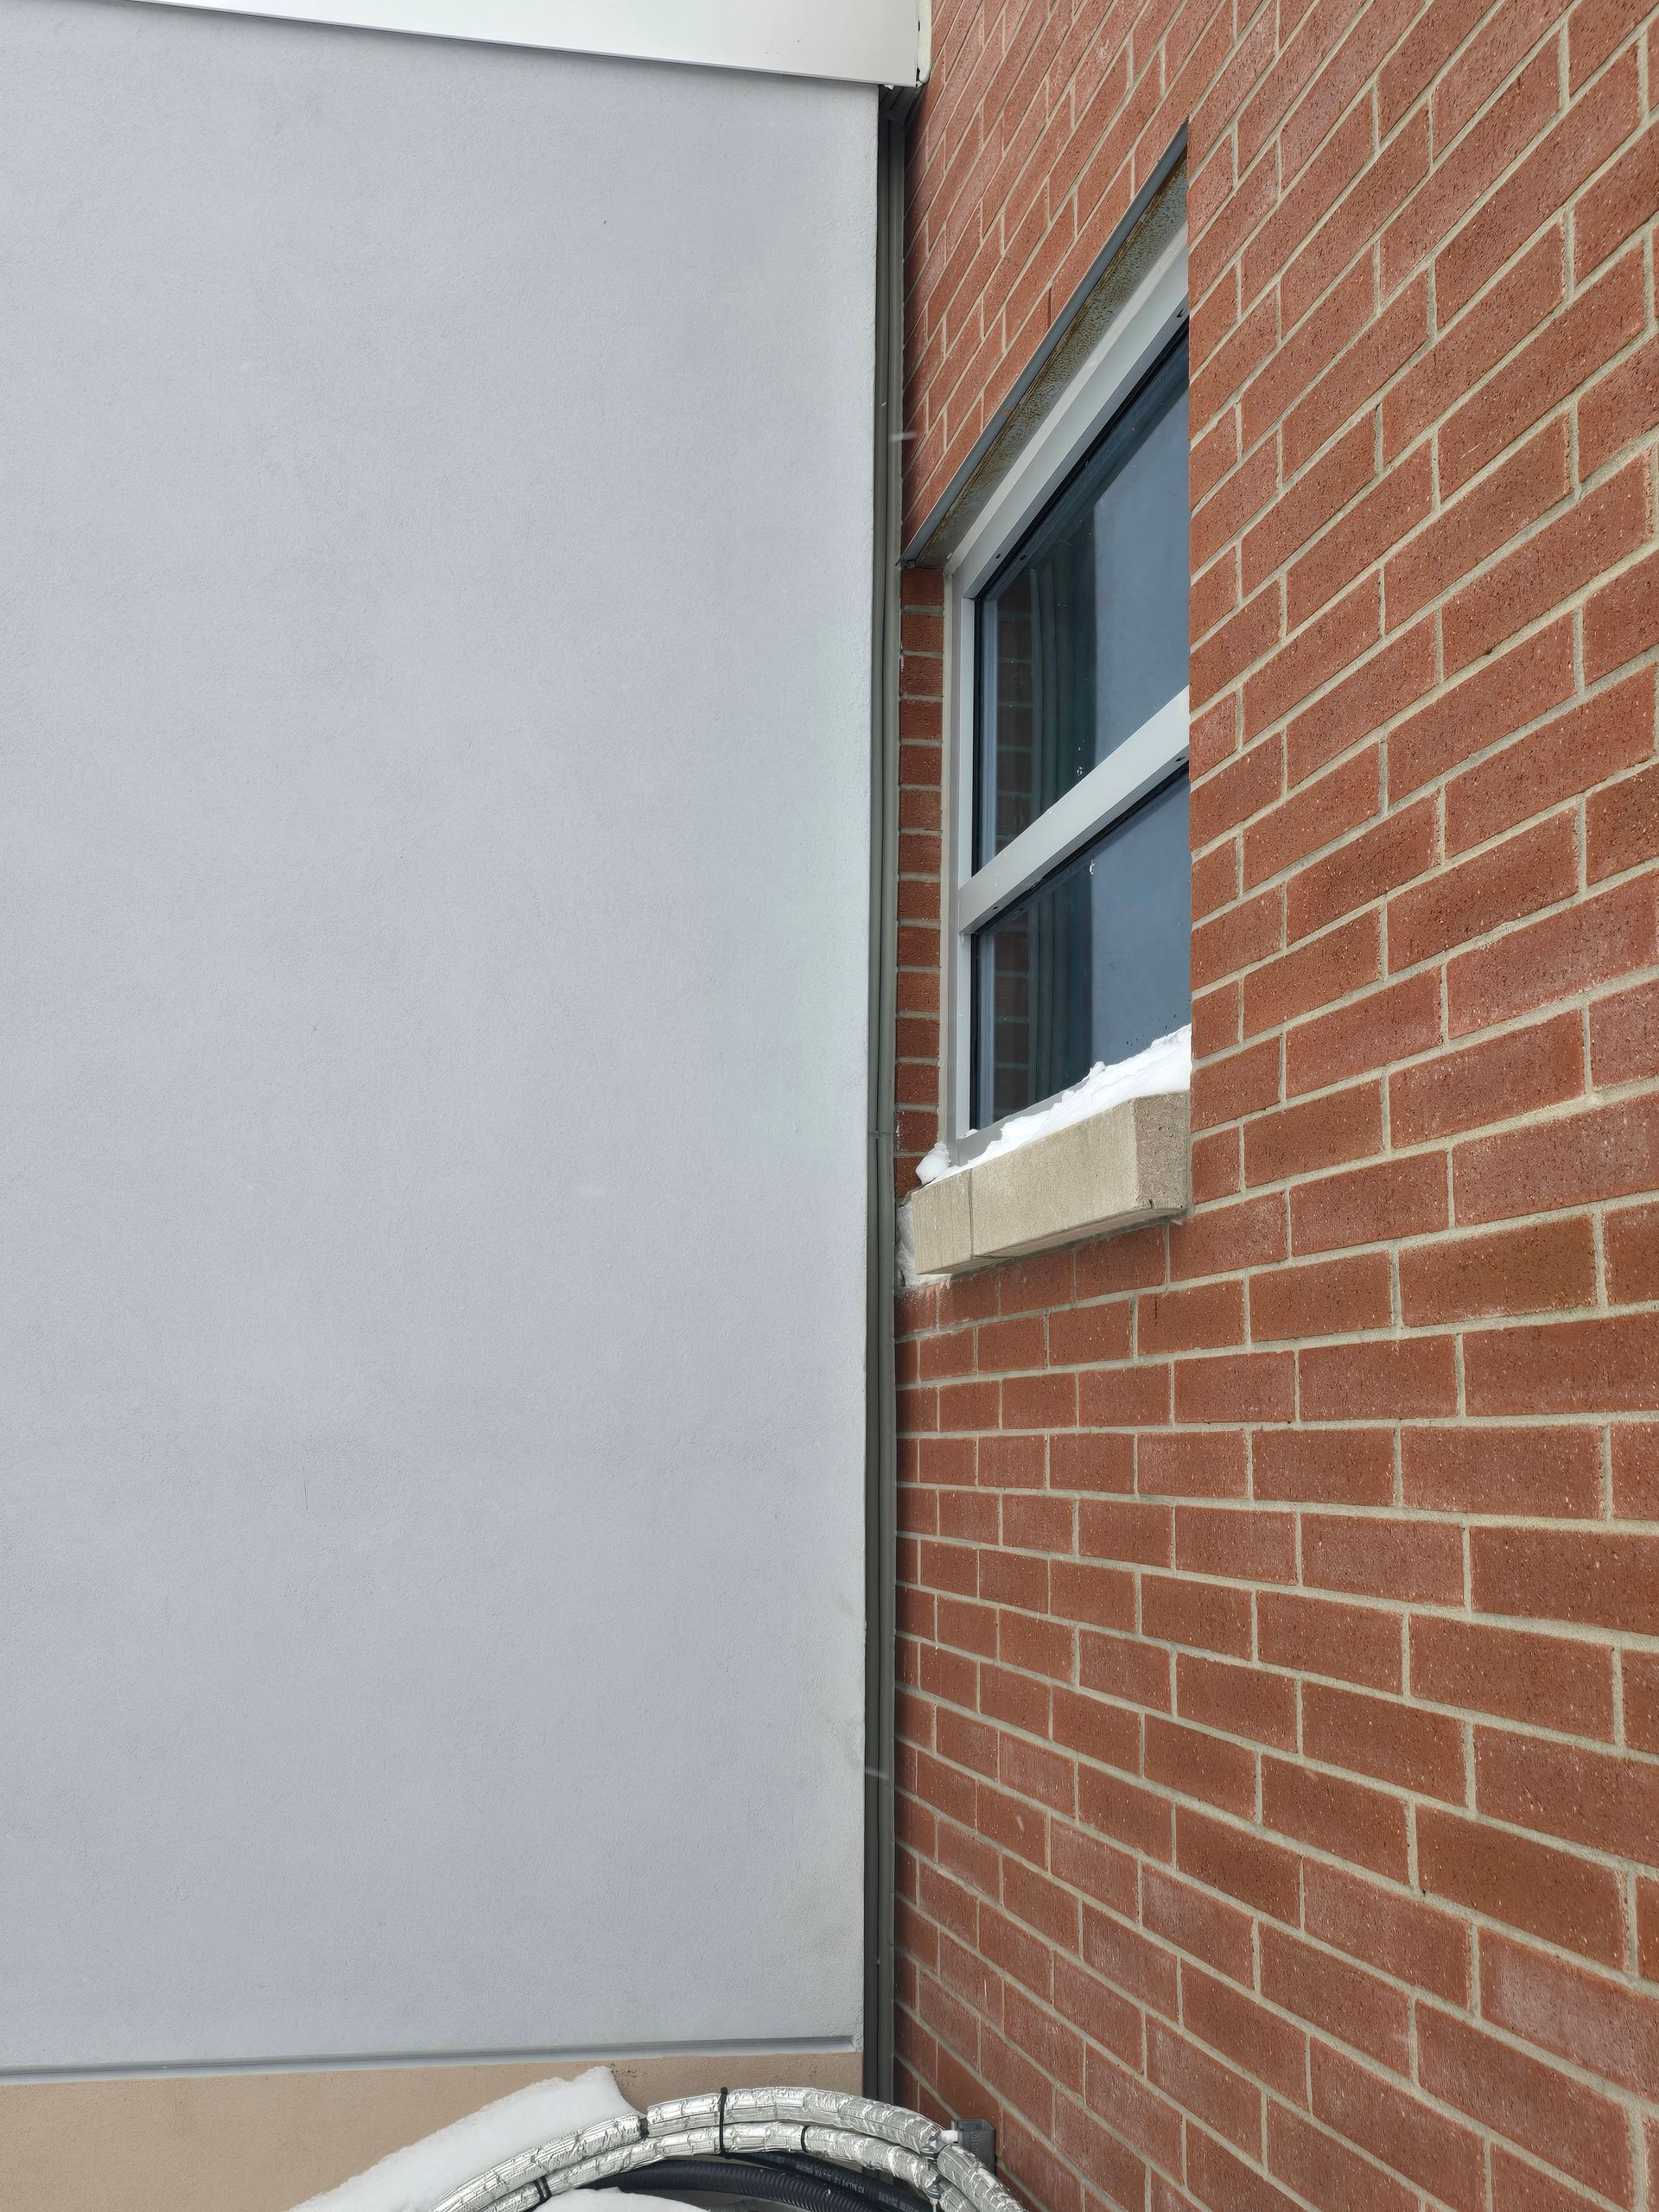
1. Visible Cracks and Gaps: Inspect the seams, roof, windows, and doors. If you notice cracks or gaps, it's time for action.
2. Water Stains or Leaks: Any signs of water inside the camper indicate failing seals.
3. Peeling or Brittle Caulk: Old caulk becomes less effective over time and needs replacement.
4. Drafts Felt Inside: If you feel drafts, check for air leaks that might need sealing.
Steps to Effective Camper Caulking
1. Prepare the Surface
Preparation is crucial for successful caulking. Start by cleaning the area thoroughly to remove dirt, debris, and old caulk. A clean surface ensures better adhesion. Use a scraper and a suitable cleaner to make the area caulk-ready.
2. Choose the Right Caulk
Select a high-quality caulk suitable for exterior applications. Silicone-based caulks are popular for their flexibility and weather-resistant properties. Consulting with a professional, like those at Not Just Caulking, can ensure you select the best product for your specific needs.
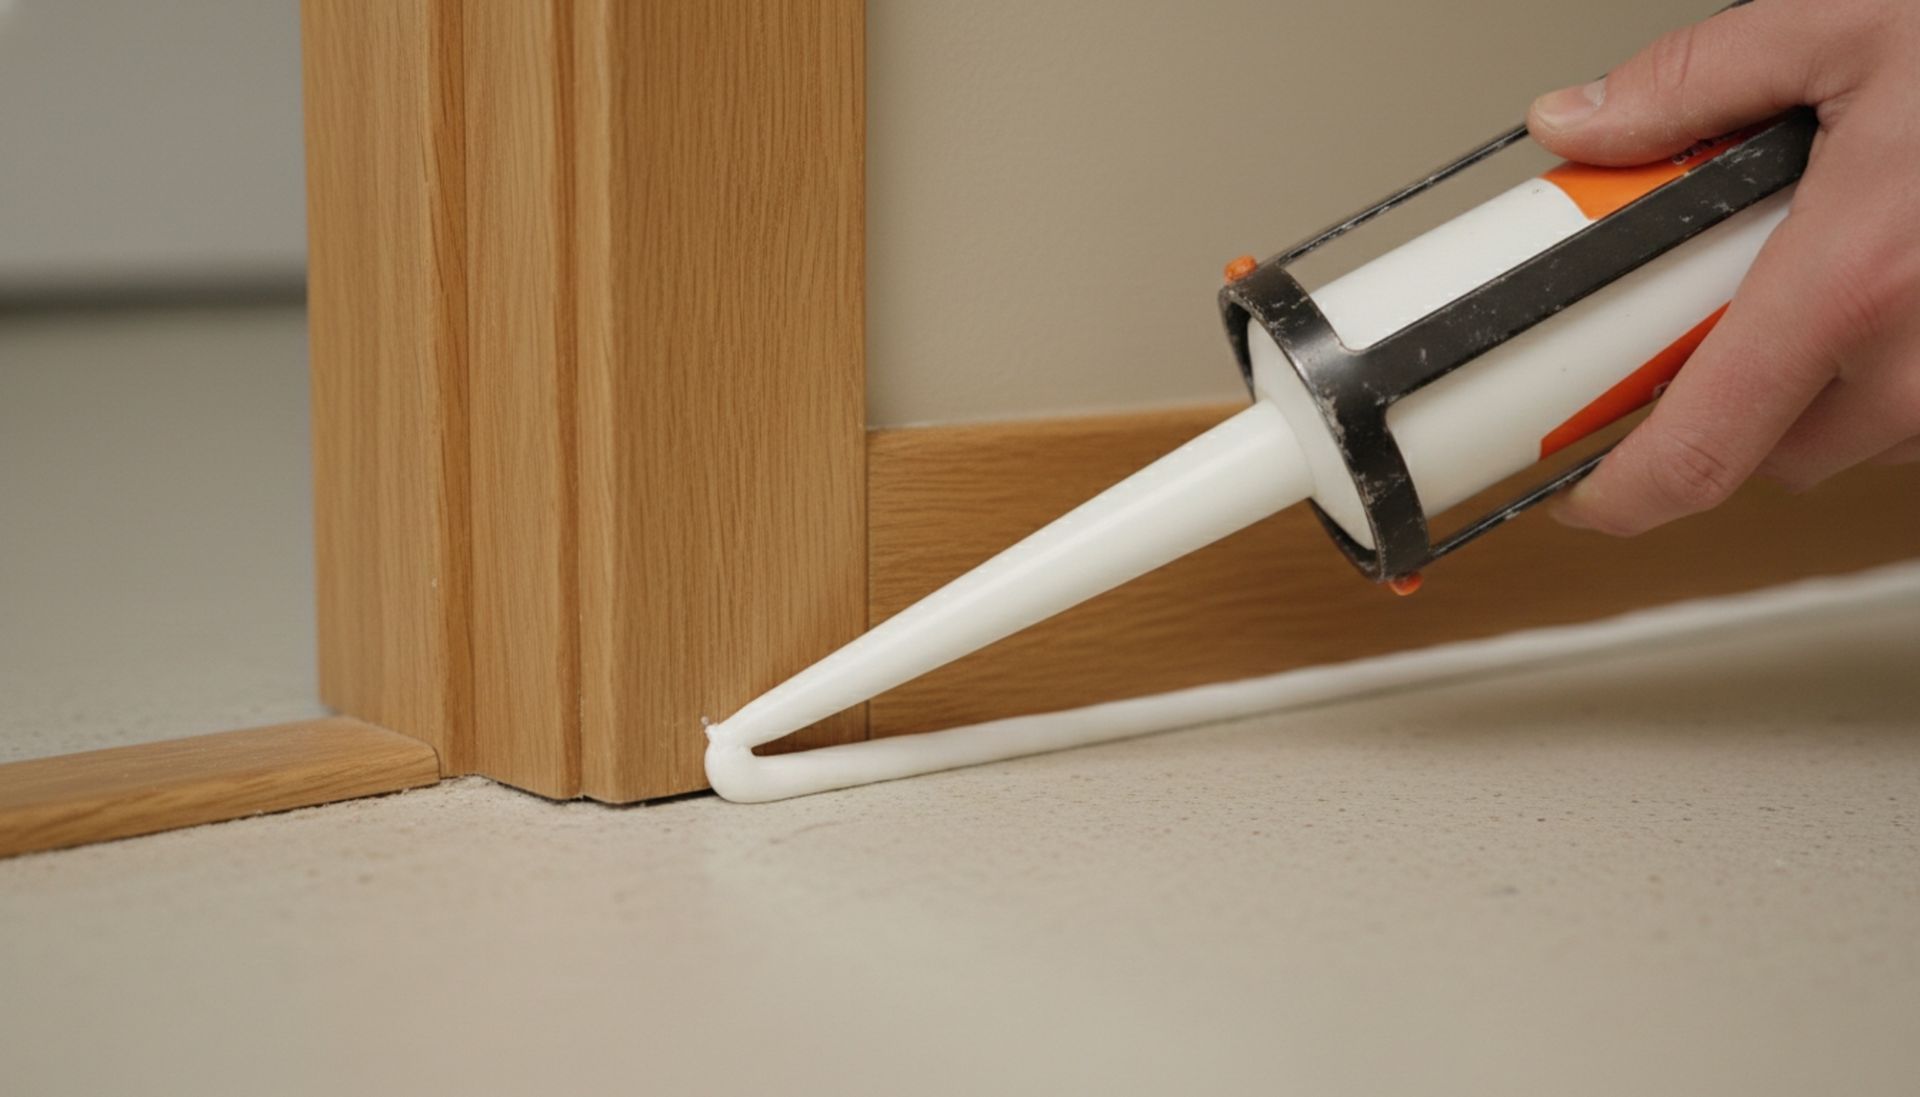
3. Apply the Caulk
Use a caulk gun for even application. Apply a steady bead of caulk to the seams and joints. Smooth it with a caulking tool or your finger to ensure it fills all gaps. Pay extra attention to areas that are prone to water exposure, such as roof seams and window seals.
4. Allow for Proper Curing
After application, it's essential to allow the caulk to cure fully. This can take 24 to 48 hours, depending on the weather conditions and the caulk used. Avoid exposing your camper to rain or excessive moisture during this period.
5. Conduct Regular Inspections
Once caulking is complete, set up a routine inspection schedule. Regular checks can help catch any issues early, ensuring repairs are done before significant damage occurs.
Benefits of Professional Camper Caulking Services
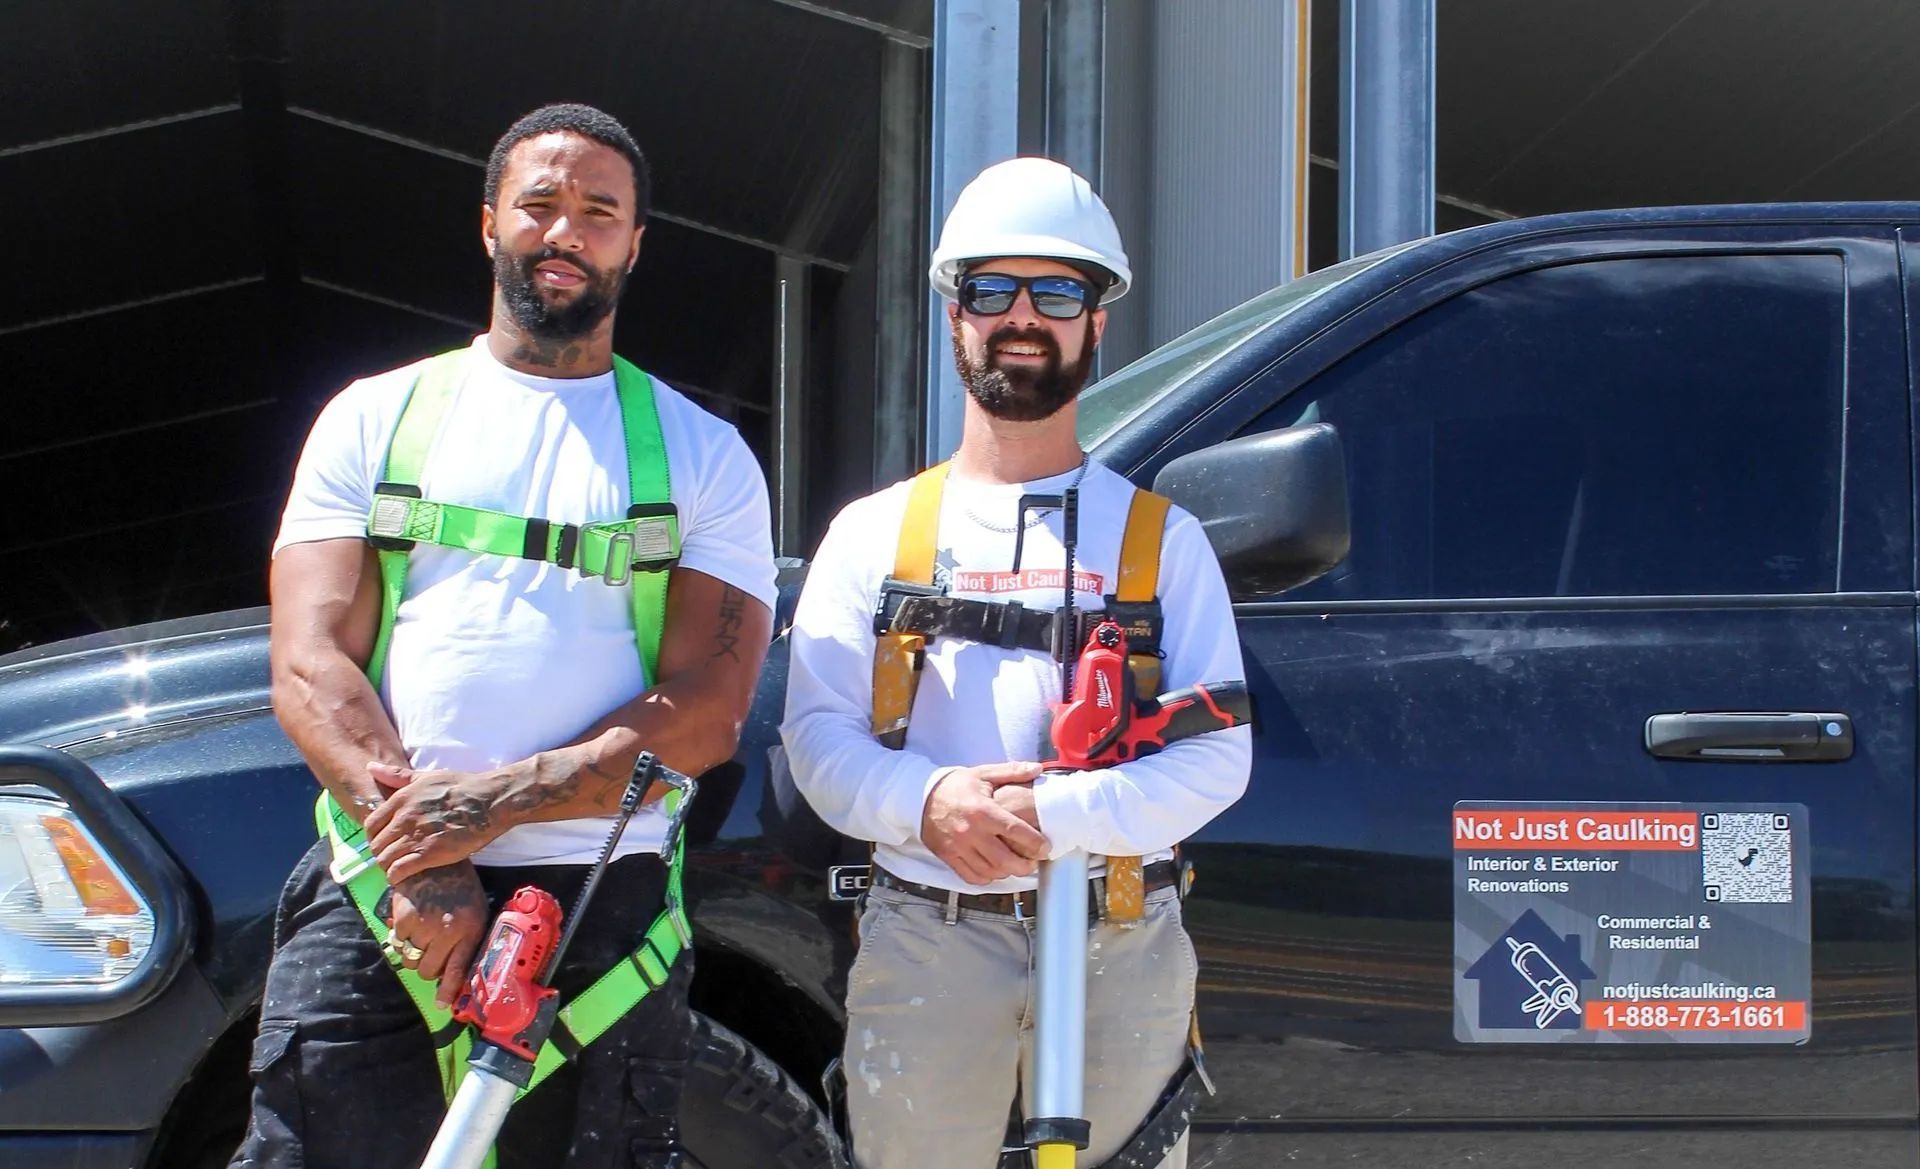
While DIY caulking is possible, enlisting professionals ensures a comprehensive and durable job. Here’s why hiring experts like Not Just Caulking is beneficial:
- Expertise and Experience: Professionals have the skills to perform precise caulking, ensuring all potential problem areas are addressed.
- Quality Materials: They use top-grade materials that offer long-term protection.
- Time-Saving: Leave the hard work to the experts, saving you time and effort.
Tips for Maintaining Your Camper Post-Caulking
- Regular Cleaning: Keep your camper clean to prevent dirt accumulation which can degrade caulk.
- Protect from Harsh Weather: Use covers during extreme weather conditions to prolong the life of seals.
- Schedule Annual Check-Ups: Regular professional inspections can help maintain the integrity of your camper.
Seal Your Adventures with Confidence
Proper camper caulking is an investment in your vehicle's longevity and your peace of mind. By sealing your camper effectively, you ensure it remains dry, comfortable, and ready for the road ahead. Whether you're tackling the task yourself or seeking professional assistance, addressing caulking needs with care and precision will enhance your travel experiences.
Ready to ensure your camper is sealed for all your upcoming adventures? Contact Not Just Caulking today to schedule a professional caulking service that guarantees quality and durability. Our team in Grimsby and surrounding areas is here to keep your camper road-ready for years to come. Visit our website or call us to book an appointment!
Share This Blog